Introduction
The lion is a huge animal category in the family Felidae, and that implies they are firmly connected with felines. Essentially, a lion is a colossal feline with a solid form, thick mane, adjusted ears, and a bristly turf at the tip of its tail. Lions are generally dynamic around evening time and live in various territories however they regularly lean toward meadows, savannas, thick clean, and open forest.
Note: After learning this tutorial visit more Mockingbird Drawing.
Due to the lion’s grand elements and immaculate hunting abilities, the lion is genuinely a powerful monster. The interest about lions has provoked a gigantic interest for a free lion drawing instructional exercise. You’ve requested it, so we conveyed. Presently, we have made a bit by bit instructional exercise on the most proficient method to draw a lion, made more straightforward with 9 simple tasks matched with basic delineations.
Stage 1 – Lion drawing
Begin by attracting a sideways oval shape the center of your paper. This makes an unpleasant sketch of the state of the lion’s head. Keep in mind, while drawing a blueprint, draw with a delicate grasp and light strokes. Try not to push down excessively hard with your pencil so you can dispose of any covering lines later on. To ensure that the lion will be attracted the middle, you can make reference lines by drawing a crossing level and vertical line across your paper. Where the two lines meet denotes where you ought to draw the oval shape.
Stage 2 – Make a Diagram of the Lion’s Head
Draw the lion’s mane encompassing the sideways oval shape that we attracted the past step. Remember to add bunches of hair to add surface, making the mane look delicate and fuzzy — as how it ought to be! In the wake of completing the step, the diagram of the lion’s head alongside its mane ought to now be noticeable.
Stage 3 – Next, Draw the Front Legs of the Lion
Right under the lion’s head, draw two legs next to each other with three noticeable paws at the base. The leg can be organized by just defining two equal vertical boundaries with three bends close by one another to make the paws. Rehash a similar step on the contrary side to make the right leg. As of now, both front legs of the lion ought to be finished.
Stage 4 – Subsequently, Draw the Lion’s Rear Legs
On each side of the lion’s lower body, attract a calculated bend to frame the rear legs. A while later, draw a half circle with one more bended line one next to the other at the lower part of every leg. This structures the feet of the lion, subsequently finishing its rear legs. Since the lion is confronting straight up, both of its rear legs are just somewhat apparent.
Stage 5 – Then, Draw the Mane on the Lion’s Head
Draw different associated breathtaking pointed shapes enveloping the lion’s top of the head. This structures the thick and long mane of the lion. Make a point to dispose of the layout covering inside the lion’s mane! This helps keep your drawing perfect and clean.
Stage 6 – Presently, Draw the Sets of Ears of the Lion
Inside the mane of the lion, draw a modified U-molded figure on each side at the highest point of its head. Subsequently, close off the figure by defining a boundary on the base. This makes the left and right ear of the lion. The lion’s sets of ears are regularly adjusted and standing upstanding, so remember that while drawing the ears of the lion.
Stage 7 – A short time later, Add the Tail of the Lion
Draw a flimsy, extended line shape rising up out of the lower right half of the lion’s body. This structures the tail of the lion. A short time later, draw a piece of thick fur on the tip of the tail — it’s one of the lion’s particular actual highlights!
Stage 8 – Draw the Nose and the Mouth of the Lion
Draw a sideways oval shape on the base piece of the lion’s face. This layouts the nose of the lion, where we will draw its nose and mouth straightaway. For the nose, draw an upset triangle shape. Then, right under the nose, define a short upward boundary with a vertical bend on each side to make the lion’s mouth. Add subtleties on the lion’s ears by basically drawing an internal figure following the blueprint of every ear. This makes the presence of within ears.
Note: Visit the Early Childhood Education.
Stage 9 – Presently, Attract the Eyes to Finish the Look
Conclude your lion drawing by adding a couple of eyes! Draw two standing oval shapes over the lion’s nose. Then, at that point, draw a minuscule circle shape inside each eye. A while later, conceal the whole eyes with the exception of the little circle. This makes a sensational “shining eyes” impact, making the lion look considerably more charming! As you can find in the representation, the lion has at long last met up.
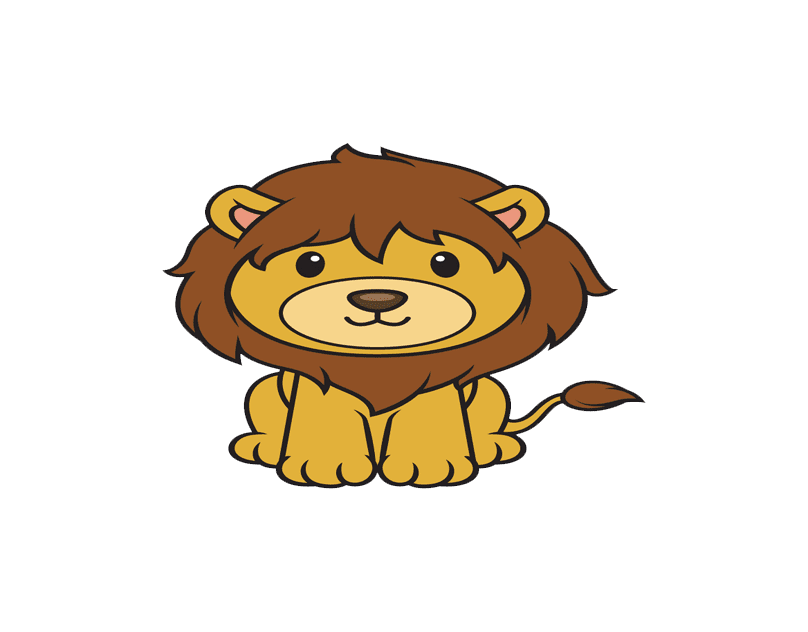
Presently all it’s missing is a sprinkle of varieties to rejuvenate the lion! Feel free to get your #1 shading materials since it’s the ideal opportunity for the best time part — shading your drawing! The shade of a lion’s jacket is principally yellow-gold, while the shade of its mane goes from light to rosy brown to dark. We hued the lion’s jacket with yellowish brown and we utilized a more obscure shade of brown on the mane, as found in the outline above.